Are you tired of feeling like your computer is holding you back? If you’re a power user, or just someone who wants more from their machine than what they can buy off the shelf, it might be time to build your own PC.
Building a PC is not nearly as hard as it sounds, and it’s a great way to get exactly the machine you want. In this article, we’ll walk you through the process of building a PC step-by-step. We’ll also explain why building your own PC can save you money, and help you select the best parts for your needs.
If you’re not sure whether building a PC is right for you, check out our article on whether it’s worth it to build your own desktop computer.
Components
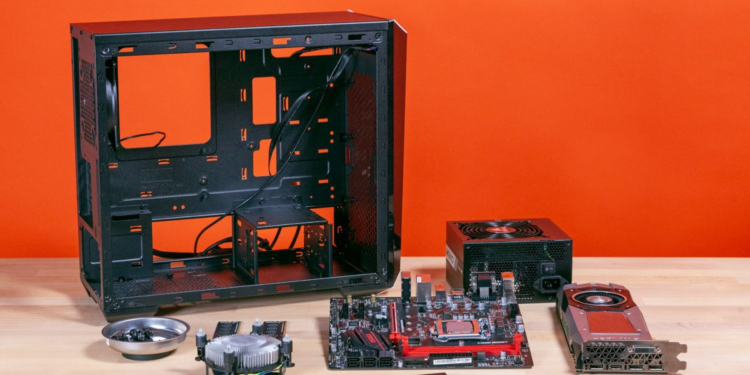
Now that you know what you need, it’s time to start collecting the components. Luckily, this part is a lot easier (and cheaper) than it used to be. There are plenty of online retailers like the electronic components store that sell all the parts you need, often at very competitive prices. You can also find many of the components used at your local computer store.
Components:
– CPU (Central Processing Unit): The brain of your computer, this is what does all the work. Prices range from $30 to over $1000.
– Motherboard: This is what everything plugs into and communicates with. Prices range from $50 to over $500.
– Memory (RAM): This is where your computer stores information it’s working with for quick access. Prices range from $20 to over $200.
– Storage (Hard Drive): This is where your computer stores all its information long term. Prices range from $40 to over $1000.
– Video Card: This is what allows you to see what your computer is doing and also helps with processing 3D images and video. Prices range from $30 to over $2000.
– Case: This houses all the important components and connects everything together. Prices range from $50 to over $200.
– Power Supply: This powers everything in your computer and converts AC power into DC power. Prices range from $40 to over $200
How Much Does it Cost to Build Your Own PC
One of the great things about building your own PC is that you can control the cost. You can choose to build a high-end gaming PC with all the bells and whistles, or a budget-friendly entry-level system. It all depends on your needs and budget.
Here’s a breakdown of the approximate cost of building a basic entry-level PC:
CPU: $60-$200
Motherboard: $60-$200
Memory (RAM): $40-$100
Storage (hard drive/SSD): $40-$200
Video card: $60-$700
Power supply: $50-$150
Case: $50-$200
Operating system: $0-$200
Total: $470-$2,050
Assembly
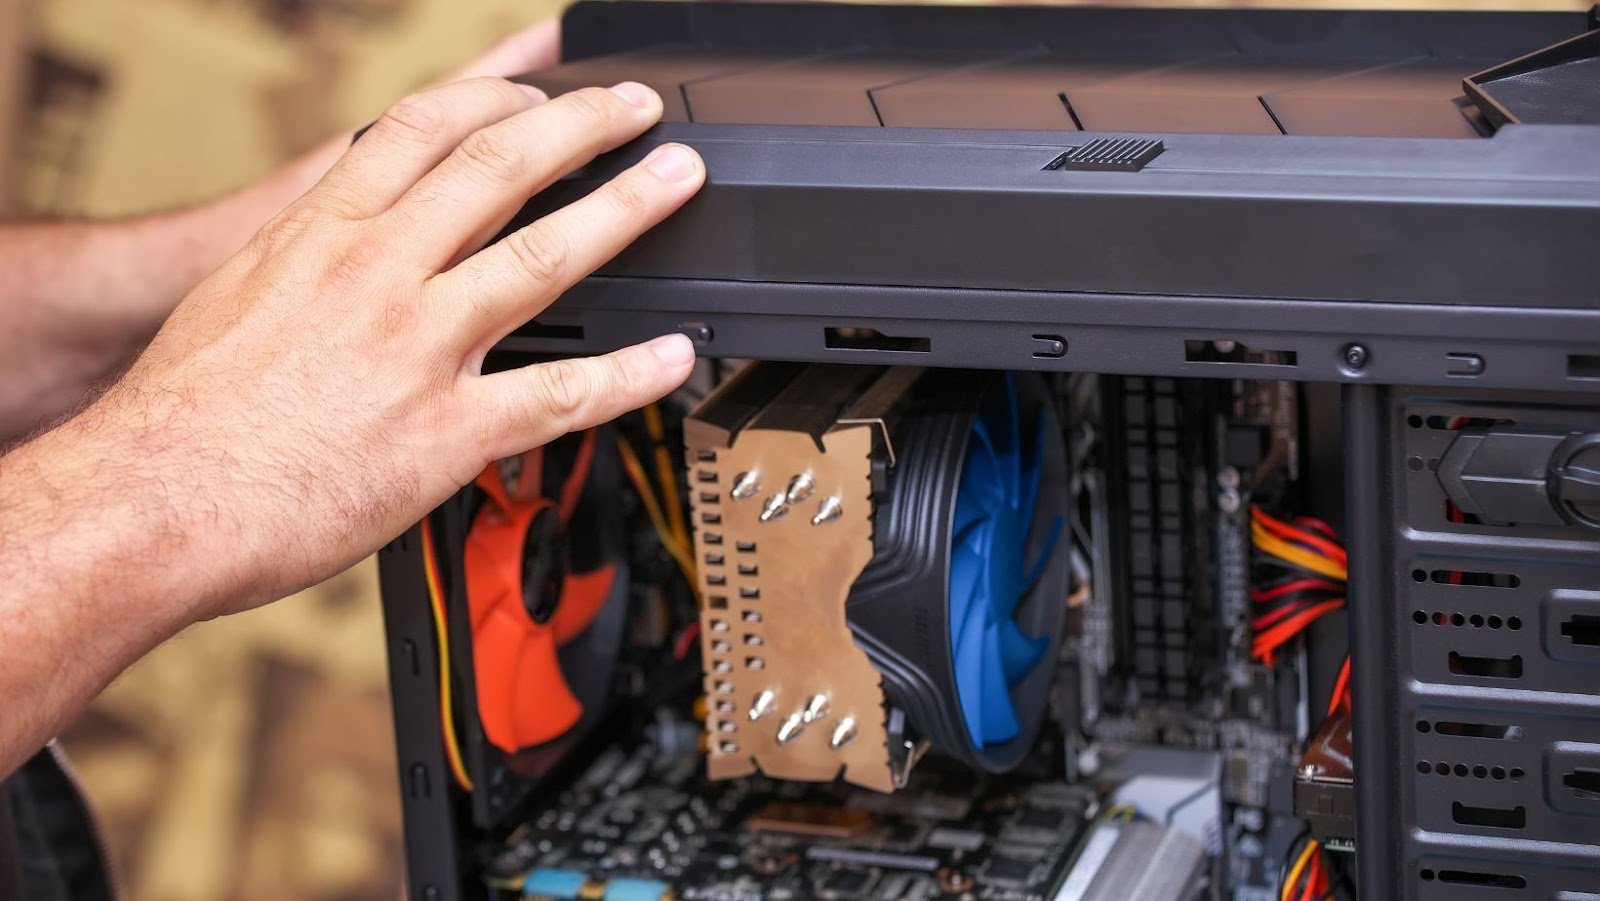
Now that you have all the parts to your new gaming PC, it’s time to put it all together. This is actually a pretty simple process, as long as you take your time and follow the steps below.
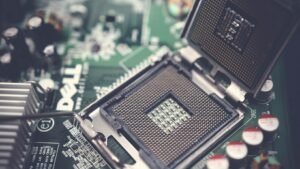
1. Start with the motherboard. If it comes with a CPU and/or RAM already installed, then great! Otherwise, installing these components is pretty straightforward. Just make sure you consult your motherboard’s manual for specific instructions.
2. Once the CPU and RAM are in place, you can install the motherboard into your computer case. Again, consult your manual for specific instructions on how to do this.
3. With the motherboard in place, you can now install your other components, such as the graphics card, sound card, hard drive, and optical drive. Simply slot them into place and screw them into the case (again, consult your manual for specific instructions).
4. Once all of your components are installed, you can now connect all of the cables (power, USB, etc.) to their respective places on the motherboard. Again, refer to your manual for specific instructions on where everything goes.
5. That’s it! You should now have a fully functional gaming PC that’s ready to game!
Testing
Building your own PC can be a rewarding experience, both in terms of the pride you’ll feel from completing a project and the money you’ll save by not opting for a pre-built model. But before you get started, it’s important to have a clear understanding of the process and what it entails.
In this article, we’ll walk you through the steps involved in building your own PC, from start to finish. We’ll also touch on some important topics, such as budgeting for your build, choosing the right components, and installing your operating system. By the time you’re finished reading, you should have all the information you need to get started on your very own custom PC.
So without further ado, let’s dive in!
1) Choose Your Components
The first step in any PC build is choosing the right components. This can be a daunting task if you’re not sure where to start, but luckily we have a comprehensive guide that can help you select each and every part for your build. Once you’ve chosen your components, it’s time to move on to the next step.
2) Assemble Your PC
Now that you have all of your components, it’s time to put them all together into a working computer. This step is usually simpler than it sounds, but there are still a few things to keep in mind. Our guide on how to assemble a PC will walk you through the entire process from start to finish, so be sure to check it out before getting started.
3) Install Your Operating System
After your PC is assembled and ready to go, the next step is installing your operating system of choice. Windows 10 is currently the most popular option for home users, but there are also many other excellent choices available, such as Linux or macOS. Whichever route you decide to go down, our guide on how to install an operating system will help you get everything set up without any problems.
4) Start Enjoying Your New Custom PC!
At this point, your new custom PC should be up and running and ready for use. All that’s left to do is sit back and enjoy all of the hard work you’ve just put into building it.


