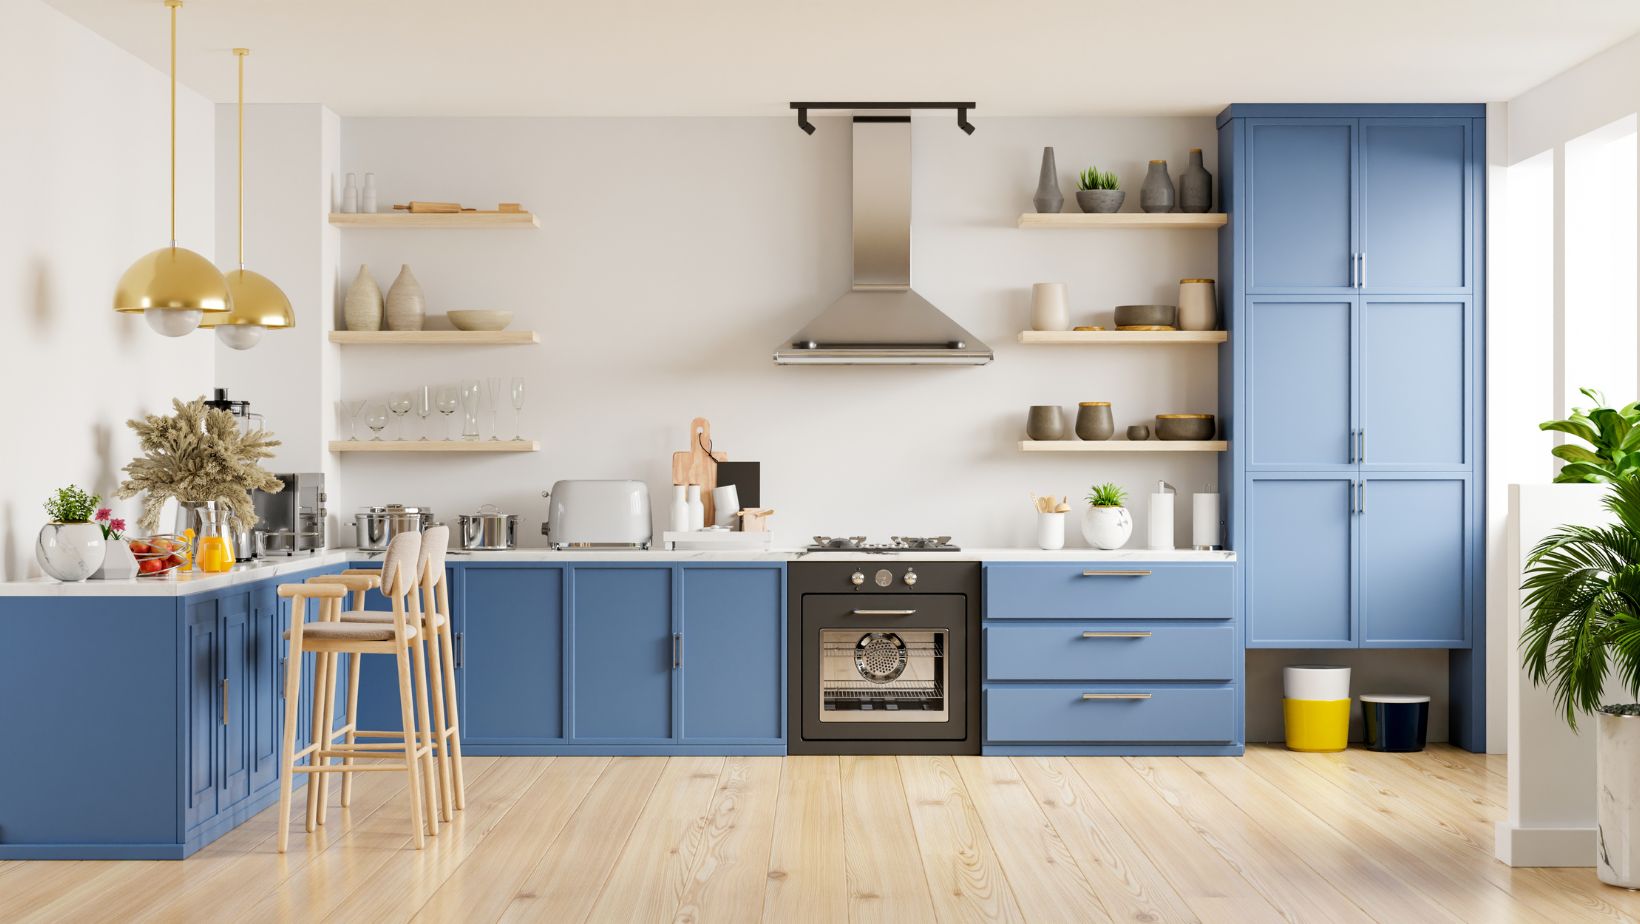
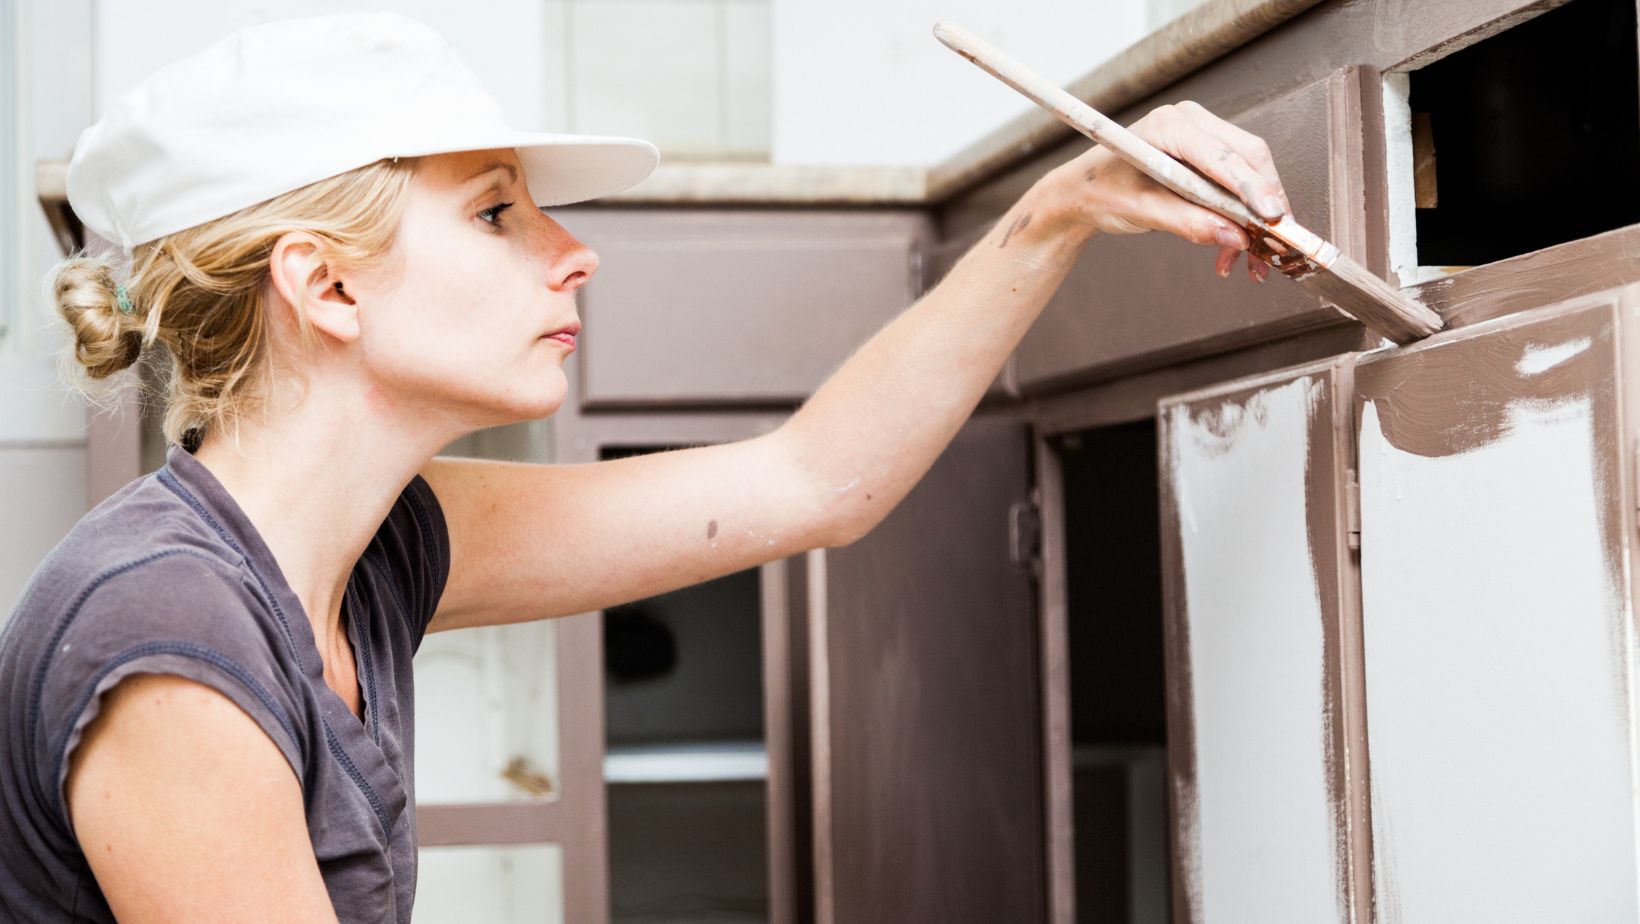
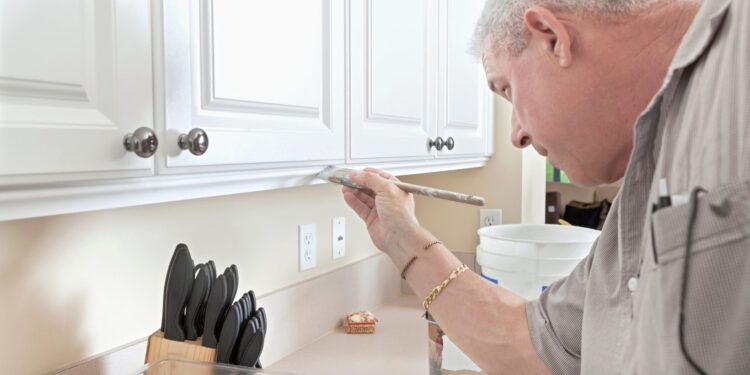
Is your kitchen looking a little outdated? You don’t need to spend a lot of money on a full remodel. One easy way to make a big difference is by painting your cabinets! Cabinet painting is a great way to refresh your kitchen without tearing it apart. In this blog, we’ll walk you through expert tips for transforming your kitchen cabinets into something beautiful, all while making the process simple and fun.
Why Kitchen Cabinet Painting?
Kitchen cabinet painting is a cost-effective way to update your kitchen without the hassle of a full renovation. Instead of replacing old cabinets, you can breathe new life into them with a fresh coat of paint. It’s like giving your kitchen a makeover but without the expense of new cabinets or tearing down walls. Whether you’re dealing with wood, laminate, or metal cabinets, a new paint job can make your space feel fresh, modern, and brand new.
How to Paint Kitchen Cabinets: Step-by-Step Guide
-
Plan Your Project
- Choose the Right Time: Pick a period when you can dedicate several days to this project, as it involves preparation, painting, and drying time.
- Select Your Colour: Decide on a color that complements your kitchen’s style. Neutral colors like white or gray can make the space feel larger, while bold colors can add character.
-
Gather Necessary Materials
- Tools: You’ll need screwdrivers to remove hardware, sandpaper or a sanding block, paintbrushes, rollers, painter’s tape, and drop cloths to protect your floors and countertops.
- Choosing the Right Paint and Finish: Selecting the appropriate cabinet paint and finish is essential for achieving a professional look. High-quality paints designed for cabinets are recommended, as they provide a smooth finish and are more durable. Semi-gloss or satin is the finest paint for kitchen cabinets, which are easy to clean and resistant to moisture.
-
Prepare the Area
- Clear the Kitchen: Empty your cabinets and remove any items on the countertops.
- Protect Surfaces: Cover countertops, appliances, and floors with drop cloths or plastic sheets to prevent paint splatters.
-
Remove Cabinet Doors and Hardware
- Label Everything: As you remove doors, drawers, and hardware, label them to make reassembly easier.
- Set Aside Hardware: Place screws, hinges, and knobs in labeled bags to keep them organized.
-
Clean the Surfaces
- Degrease Cabinets: Kitchens can be greasy. Use a degreasing cleaner to thoroughly clean all surfaces to ensure the paint adheres properly.
-
Sand the Surfaces
- Smooth the Wood: Lightly sand all cabinet surfaces to remove the old finish and create a texture for the primer to adhere to. This step is crucial for a smooth, long-lasting finish.
-
Apply Primer
- Choose the Right Primer: Use a high-quality primer designed for cabinets. Applying primer helps the paint stick better and covers any stains or dark colors.
- Apply Evenly: Use a brush or roller to apply a thin, even coat of primer. Allow it to dry completely before proceeding.
-
Sand Again
- Ensure Smoothness: After the primer dries, lightly sand the surfaces again to remove any brush strokes or imperfections. This step ensures a smooth final finish.
-
Paint the Cabinets
- First Coat: Apply the first coat of paint using a high-quality brush or roller. Work in thin, even layers to prevent drips and ensure a smooth finish.
- Drying Time: Allow the first coat to dry completely. Follow the paint manufacturer’s recommendations for drying times.
- Second Coat: Apply a second coat of paint for full coverage. In some cases, a third coat may be necessary, especially if you’re covering a dark color with a lighter one.
-
Reassemble the Cabinets
- Reattach Hardware: Once the paint is fully dry, reattach the hardware to the doors and drawers.
- Rehang Doors and Drawers: Carefully rehang all doors and slide drawers back into place, referring to your labels to ensure correct placement.
Tips for a Successful Cabinet Painting Project
- Quality Materials: Invest in high-quality paint and primer specifically designed for cabinets. This ensures durability and a professional finish.
- Patience is Key: Allow adequate drying time between coats. Rushing can lead to smudges or an uneven finish.
- Proper Ventilation: Ensure your workspace is well-ventilated to help the paint dry and to keep fumes at a safe level.
- Test Colors First: Before committing to a color, test it on a small, inconspicuous area to see how it looks in your kitchen’s lighting.
Alternative Methods and Hacks
Simplify your cabinet painting project with these easy methods and clever hacks:

- No Sanding Needed: Skip sanding by using a bonding primer for smooth adhesion.
- DIY Paint Station: Use screw eye hooks to hang cabinet doors or blocks to elevate them for drying.
- Fix Adhesion Issues: Clean cabinets with a degreaser and use painter’s tape for sharp lines.
- Hardware Hacks: Label or photograph hardware placement and consider upgrading knobs and pulls.
- Cut-In Brush: Use a small brush to clean edges in tight spots.
- Paint Consistency: Stir paint often and thin it slightly if needed for a smoother application.
- Antiqued or Distressed Look: Sand edges lightly after painting or use a glaze for a vintage feel.
- Painters Tape Tips: Apply tape firmly to avoid bleed-through and protect surfaces.
These tips save time and effort while ensuring a polished, creative finish!
Cabinet Painting: Common Mistakes to Avoid
- Skipping Sanding: Not sanding the surfaces can result in poor paint adhesion, leading to peeling or chipping later.
- Ignoring Primer: Primer is essential for covering old finishes and providing a good base for the paint. Skipping this step can affect the durability of your paint job.
- Applying Thick Coats: Thick coats of paint can lead to drips and an uneven finish. It’s better to apply multiple thin coats for a smooth result.
When to Consider Professional Help
Sometimes, painting your cabinets yourself just isn’t practical. Here’s when calling in the pros is the way to go:
- Save Time: Professionals work faster and more efficiently, freeing up your schedule.
- Flawless Results: They know how to handle tricky surfaces and corners, ensuring a smooth, durable finish.
- Top-Quality Materials: Pros use high-end paints and tools for a long-lasting, professional look.
- Stress-Free: No need to worry about prep, mistakes, or cleanup—they handle it all.
- Custom Finishes: From high-gloss to antique looks, experts can achieve the exact style you want.
- Proper Equipment: Professionals use specialized tools and materials to achieve a flawless finish.
- Warranty: Reputable companies often provide warranties on their work, giving you peace of mind.
Maintaining Your Painted Cabinets
To keep your newly painted cabinets looking fresh:
- Clean Regularly: Wipe down the surfaces with a damp cloth to remove dust and spills.
- Avoid Harsh Chemicals: Use mild cleaning solutions to prevent damaging the paint.
- Handle with Care: Be gentle when opening and closing doors to avoid chipping the paint.
Frequently Asked Questions about Cabinet Painting
How much does it cost to paint kitchen cabinets in Toronto?
In Toronto, the average cost of painting kitchen cabinets starts at $2,500 and goes up to $3,500 for a standard kitchen with approximately 20 to 30 cabinet doors. This equates to about $85 to $125 per door or drawer. For larger kitchens with more cabinets, the total cost can range from $4,000 to $6,500.
How much should it cost to paint cabinets?
The cost to paint cabinets varies based on factors like the number of doors and drawers, the complexity of the work, and regional pricing.

On average, homeowners can expect to pay between $85 and $125 per cabinet door or drawer. Therefore, for a kitchen with 20 to 30 cabinets, the total cost would typically range from $2,500 to $3,500.
Is painting cabinets more affordable than replacing them?
Yes, painting cabinets is generally much cheaper than replacing them. While painting costs can range from $2,500 to $6,500 depending on the kitchen size, completely replacing kitchen cabinetry can cost anywhere from $10,000 to $40,000. Therefore, painting offers a cost-effective alternative to achieve a fresh look.
Is professional cabinet painting worth it?
Professional cabinet painting is often worth the investment due to the quality and durability of the finish achieved. Professionals have the expertise and equipment to ensure a smooth, long-lasting result that can significantly enhance the appearance of your kitchen. Additionally, hiring professionals can save you time and effort compared to a DIY approach.
What is kitchen cabinet refinishing?
Kitchen cabinet refinishing is the process of restoring your existing cabinets by sanding, staining, or painting them to give them a fresh, updated look. This method is more cost-effective than replacing cabinets and helps maintain the original structure. Refinishing is ideal if your cabinets are still in good shape but need a new appearance.
Where can I find kitchen cabinet refinishing near me?
When searching for “cabinet painting near me,” start by searching online or contacting local professionals. Hiring nearby experts ensures quick service and local expertise for your refinishing needs.
Conclusion
Transforming your kitchen doesn’t have to mean a complete remodel. Painting your cabinets is an affordable, effective way to give your space a fresh, new look. Whether you choose to tackle the project yourself or hire professionals, the right approach can make all the difference in creating a kitchen you love.
By following these expert tips, you can ensure a smooth, long-lasting finish that revitalizes your cabinets and your kitchen. And if you’re ever unsure, remember that professionals are there to help with their expertise and tools. Ready to start your kitchen transformation? With a little effort or the help of skilled pros, your dream kitchen is just a brushstroke away!


